This is the full walkthrough, written so you can follow it even if you’ve never used Docker. By the end you’ll have SocialMate running on your server and the console open in your browser. It takes about ten minutes. Everything you type is a copy-paste command.
What you need
- A Linux VPS (Ubuntu 22.04 or 24.04 is easiest). Any provider works — DigitalOcean, Hetzner, Linode, Vultr, a home server. The cheapest tier (1 vCPU, 1–2 GB RAM) is plenty.
- The server’s IP address and the ability to SSH into it (your provider gives you both).
- A phone with WhatsApp, to link — exactly like linking WhatsApp to a laptop.
Step 1 — Connect to your server
From your own computer’s terminal, log in over SSH (replace with your server’s IP):
ssh root@YOUR_SERVER_IPIf your provider gave you a non-root user, that’s fine too — just add sudo in front of the commands below that need it.
Step 2 — Install Docker
Install Docker and the Compose plugin from Ubuntu’s own repositories:
sudo apt update
sudo apt install -y docker.io docker-compose-v2
Make sure Docker starts automatically whenever the server boots (so SocialMate comes back after a reboot — more on that later):
sudo systemctl enable --now dockerCheck it’s working:
docker --version
docker compose version
Step 3 — Create the SocialMate folder and compose file
Make a folder to keep everything in, and move into it:
mkdir -p ~/socialmate && cd ~/socialmateCreate the docker-compose.yml file. Paste this whole block into your terminal exactly as-is — it writes the file for you:
cat > docker-compose.yml <<'YAML'
services:
  socialmate:
    image: ghcr.io/micbwilliam/socialmate-server:latest
    container_name: socialmate
    restart: unless-stopped
    ports:
      - "3456:3456"
    environment:
      SOCIALMATE_ADMIN_PASSWORD: "${SOCIALMATE_ADMIN_PASSWORD:-}"
      SOCIALMATE_VAULT_KEY: "${SOCIALMATE_VAULT_KEY:-}"
      SOCIALMATE_API_HOST: "0.0.0.0"
    volumes:
      - sm-data:/data
volumes:
  sm-data:
YAML
Step 4 — Set your password and a vault key
SocialMate reads two secrets from a .env file that sits next to the compose file. Create it with a strong admin password and a randomly-generated vault key (which encrypts saved tunnel tokens):
cat > .env <<ENV
SOCIALMATE_ADMIN_PASSWORD=choose-a-strong-password-here
SOCIALMATE_VAULT_KEY=$(openssl rand -hex 32)
ENV
Your password must be at least 8 characters, or the server won’t start. Pick something long and unique — this is the key to your whole WhatsApp automation. Edit the file any time with nano .env.
Step 5 — Start it
docker compose up -dThe first run downloads the image and starts the container in the background. Give it a few seconds, then check it’s healthy:
docker compose psYou want to see socialmate with status Up and (healthy). You can also ask the server directly:
curl -fsS http://localhost:3456/health && echo OKIf it prints OK, the server is running. (If not, see Troubleshooting.)
Step 6 — Get your admin address and password
Your console is at:
http://YOUR_SERVER_IP:3456/adminYour password is the one you set in .env in Step 4. Forgot which one? Read it back:
grep ADMIN_PASSWORD .envIf you had left the password blank, SocialMate would generate one and print it once to the logs — you’d read it with docker compose logs socialmate | grep -A1 "FIRST-RUN PASSWORD". Because you set your own in Step 4, you already know it.
Step 7 — Log in
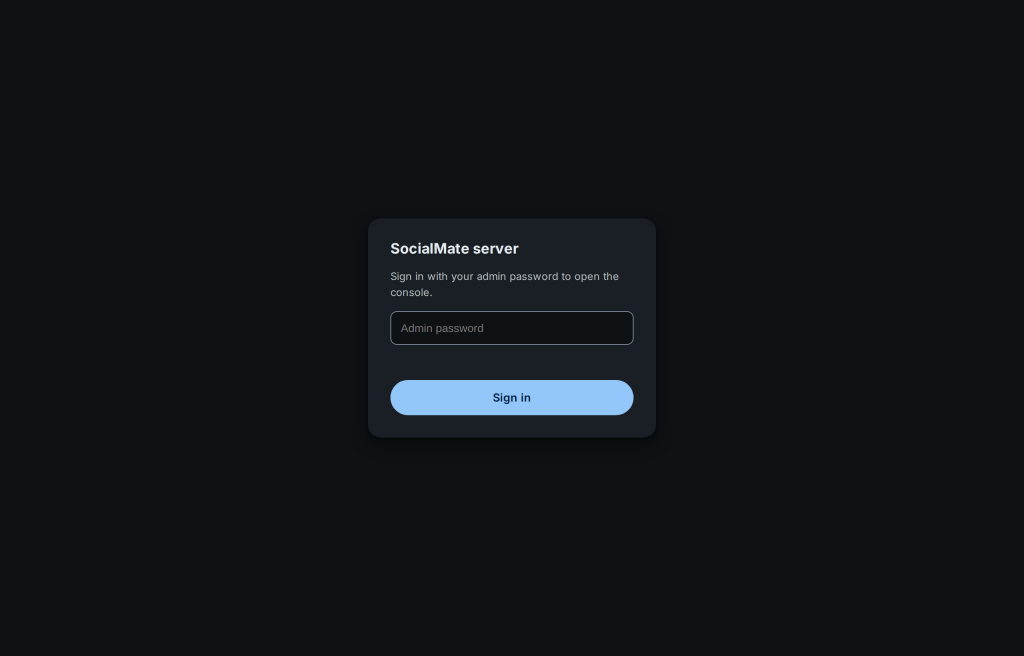
Open http://YOUR_SERVER_IP:3456/admin in any browser on your computer. You’ll see the SocialMate login screen — enter your admin password.
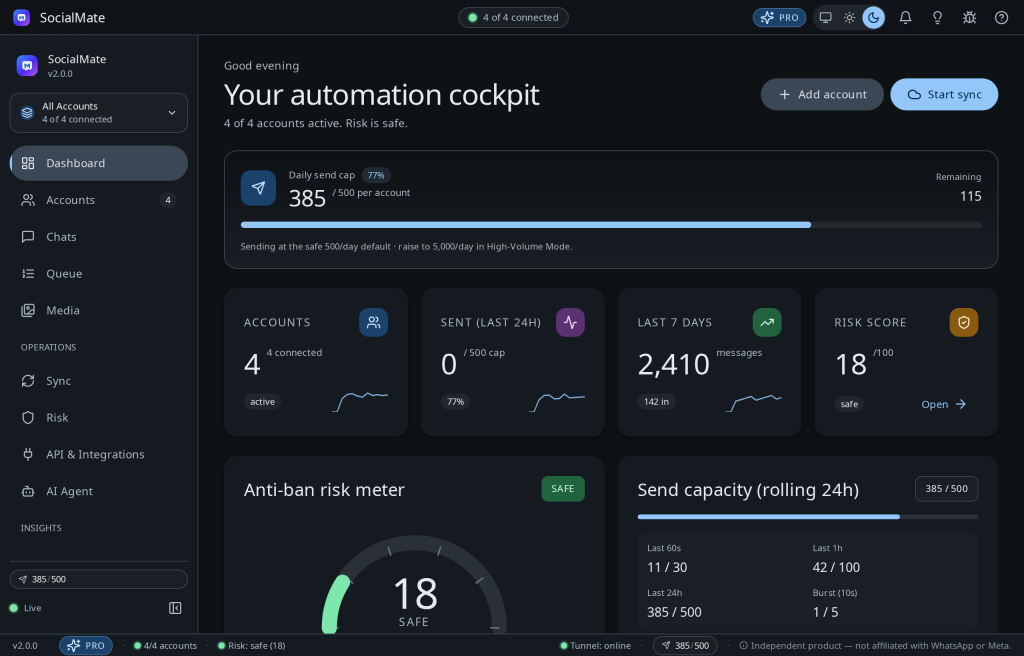
After you log in, the full SocialMate console opens — the same dashboard as the desktop app, in your browser.
Step 8 — Link your WhatsApp
Go to Accounts → Add account and choose QR code. A QR appears right in the browser. On your phone, open WhatsApp → Settings → Linked devices → Link a device and scan it — exactly like linking WhatsApp Web. (Prefer typing a code? Pick Pairing code instead.)
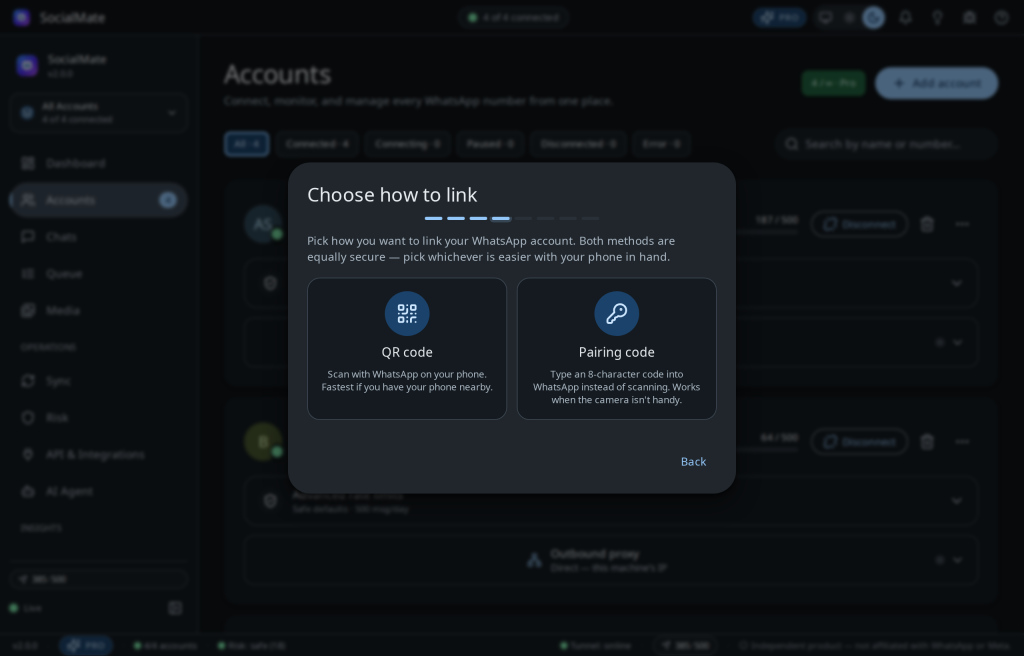
Once it links, the account connects and your live feed starts streaming. That’s it — SocialMate is running on your server.
New number? SocialMate automatically warms it up — going slow at first to protect it. That’s the anti-ban engine doing its job, not a bug.
Optional — turn on the REST API
Everything the GUI does, your own automations can do too. Open API & Integrations in the sidebar, create an API key, and call the server from n8n, a script, or an AI agent:
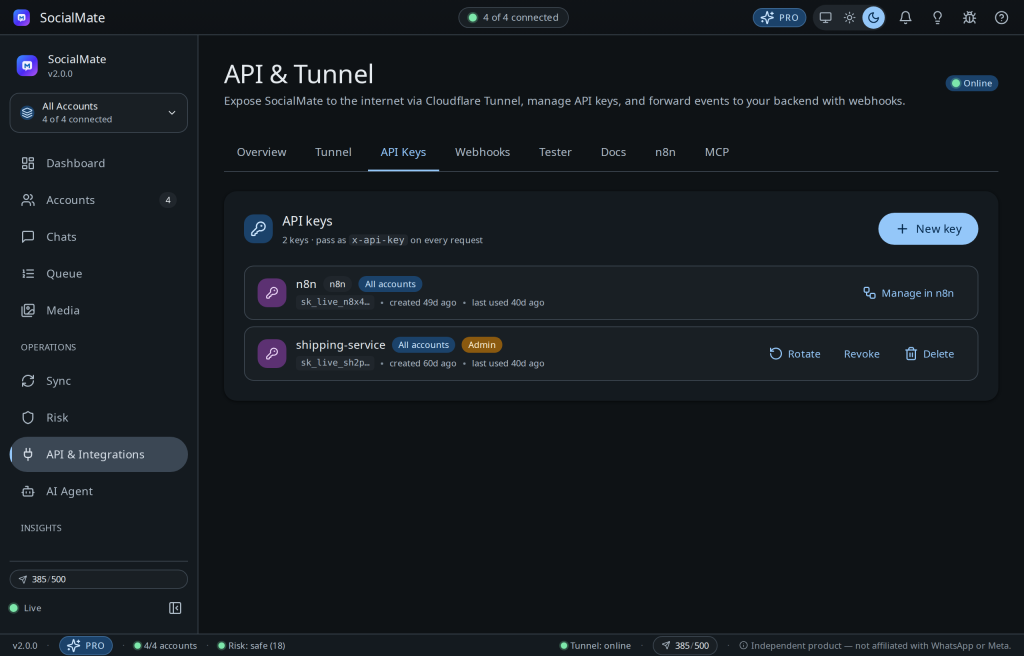
curl -H "x-api-key: YOUR_KEY" http://YOUR_SERVER_IP:3456/v1/statusSee Getting started with the API and the n8n node for what you can build.
Next: keep it safe and running
- Put it behind HTTPS. Over plain
http://your password crosses the internet in cleartext. Before you rely on it, add TLS — see securing your server. - Keep it running — does it restart after a reboot, how to restart it, how to update.
- Troubleshooting if anything’s off.