If you’d rather not use Docker, SocialMate ships a native installer that runs it as a normal Linux service under systemd. It sets up everything for you and the service starts automatically on every boot. Use a 64-bit Linux server (Ubuntu/Debian recommended). If you’re comfortable with Docker, the Docker guide is a little simpler — this is the alternative.
Step 1 — Run the installer
SSH into your server and run:
curl -fsSL https://raw.githubusercontent.com/micbwilliam/socialmate-releases/main/install.sh | sudo bashThis one command:
- installs Node.js 22 (from NodeSource),
- creates a locked-down
socialmatesystem user, - unpacks the latest release to
/opt/socialmate, - writes a secrets file at
/etc/socialmate/socialmate.env(readable only by root) with a generated admin password and vault key, - installs the service, enables it to start on boot, and starts it.
Step 2 — Note your admin password
The installer prints your generated admin password once, at the very end — copy it. Missed it? Read it back (root only):
sudo grep ADMIN_PASSWORD /etc/socialmate/socialmate.envStep 3 — Verify it’s running
systemctl status socialmate          # should say: active (running)
systemctl is-enabled socialmate      # should say: enabled
curl -fsS http://localhost:3456/health && echo OK
enabled means it will come back on its own after a reboot — you don’t have to do anything.
Step 4 — Log in
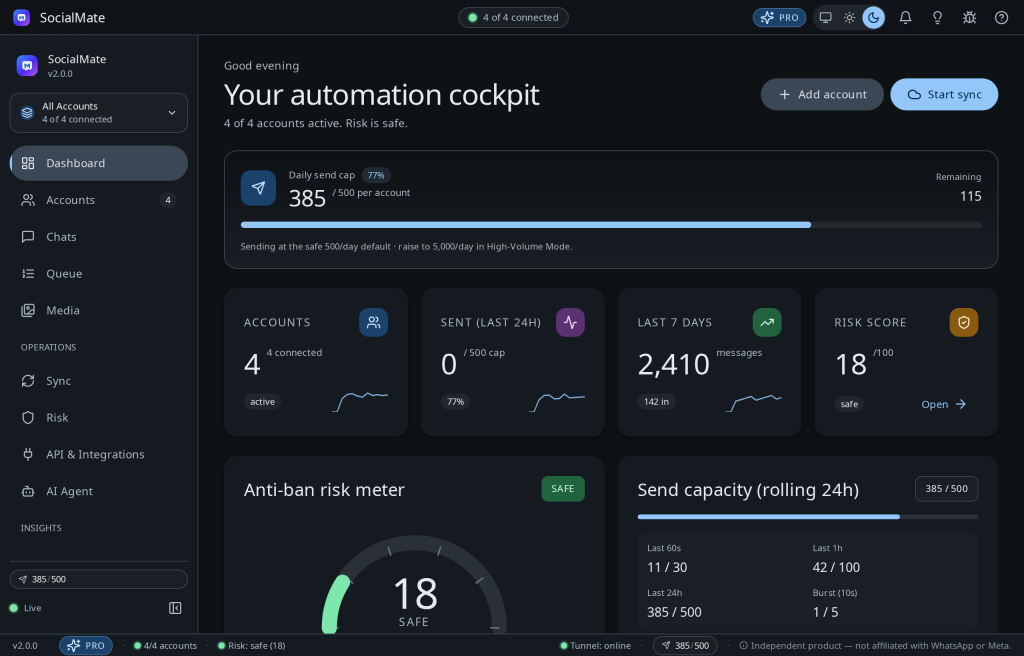
Open http://YOUR_SERVER_IP:3456/admin, sign in with the password from Step 2, and link your WhatsApp under Accounts → Add account (scan the QR from your phone). The console is identical to the Docker install and the desktop app.
Reading the logs
The service logs to the systemd journal — follow them live with:
journalctl -u socialmate -fUpdating
sudo socialmate-updateThis downloads the latest release, verifies its checksum, swaps it in, and restarts the service. Your accounts, database, and license seat are untouched — they live in /var/lib/socialmate, separate from the program files.
Persist /var/lib/socialmate. That’s your data dir — DB, WhatsApp sessions, and the machine id your license is bound to. The installer puts it in the right place; just don’t delete it, or the server will drop to Free on the next start.
Next steps
- Keep it running — restart, boot behaviour, and updates in one place.
- Secure the login with HTTPS before exposing it to the internet.
- Troubleshooting.